The Art of Spring Replacement: A Step-by-Step Guide
Replacing the mainspring in an antique phonograph is a critical, yet potentially dangerous, task. These springs store a significant amount of energy and must be handled with utmost care. This guide aims to provide a comprehensive, step-by-step approach to safely replacing mainsprings in various antique phonograph models. Please read the entire guide before attempting this repair, and always prioritize safety. This is not a task for beginners; if you're unsure, seek assistance from a qualified phonograph technician.
Understanding Mainsprings and Their Types
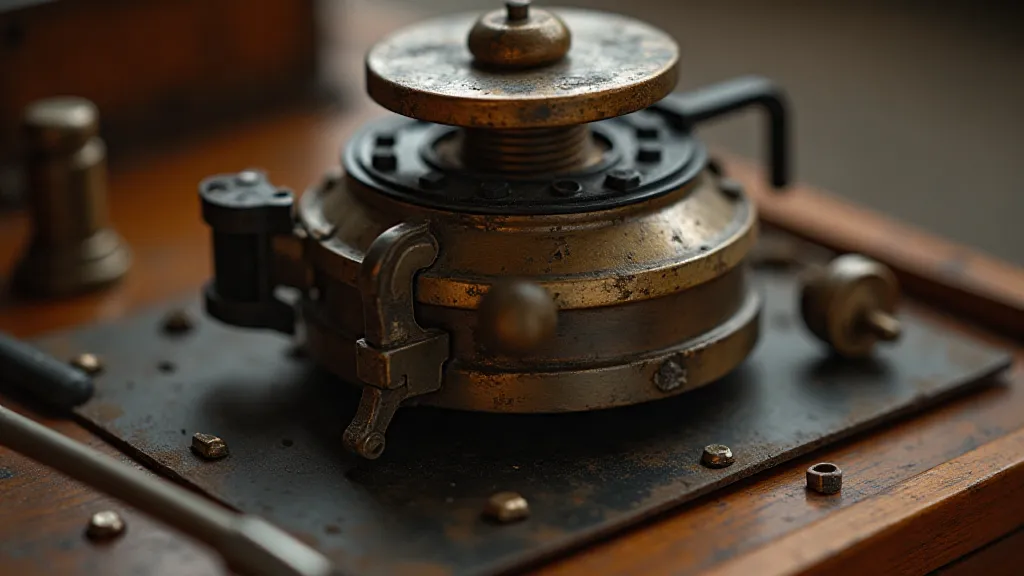
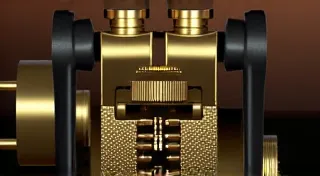
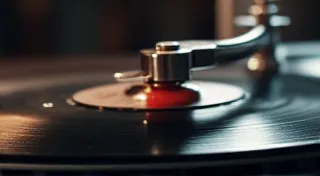
Mainsprings provide the power to drive the motor that turns the turntable and cylinder/record. They come in different types, most commonly barrel springs and coil springs. Barrel springs are long, cylindrical springs often found in early Edison phonographs. Coil springs are more prevalent in later models from companies like Victrola and Columbia. Identifying the type of spring is crucial, as the replacement process can vary slightly.
Essential Tools & Safety Precautions
Before you begin, gather the following tools:
- Spring Winding Tool (Key): Absolutely essential for safely winding and releasing the spring.
- Pliers: For gripping and maneuvering components.
- Screwdrivers: Various sizes to disassemble the phonograph.
- Safety Glasses: Protect your eyes from flying debris.
- Gloves: To protect your hands.
- Work Bench with a secure vise. To immobilize parts.
- A sturdy vise with soft jaws. To hold the phonograph mechanism securely.
- Plenty of rags. For cleaning.
Safety First: Always release all stored energy from the mainspring before attempting any disassembly. Wear safety glasses and gloves throughout the process. Never point a released spring towards yourself or others.
Step-by-Step Replacement Guide
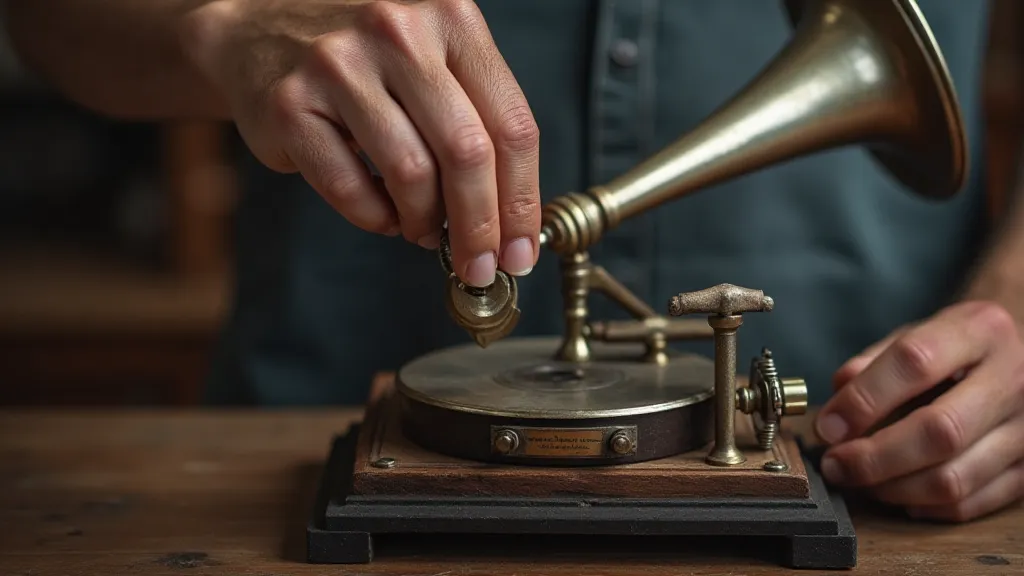
- Disassembly: Carefully disassemble the phonograph's mechanism, referring to the model's specific repair manual if available. This usually involves removing the motor and gear assembly. Take pictures during disassembly to aid in reassembly.
- Releasing the Energy: Using the correct winding key, slowly and deliberately release the tension on the existing mainspring. Do this slowly and steadily – a sudden release could be dangerous.
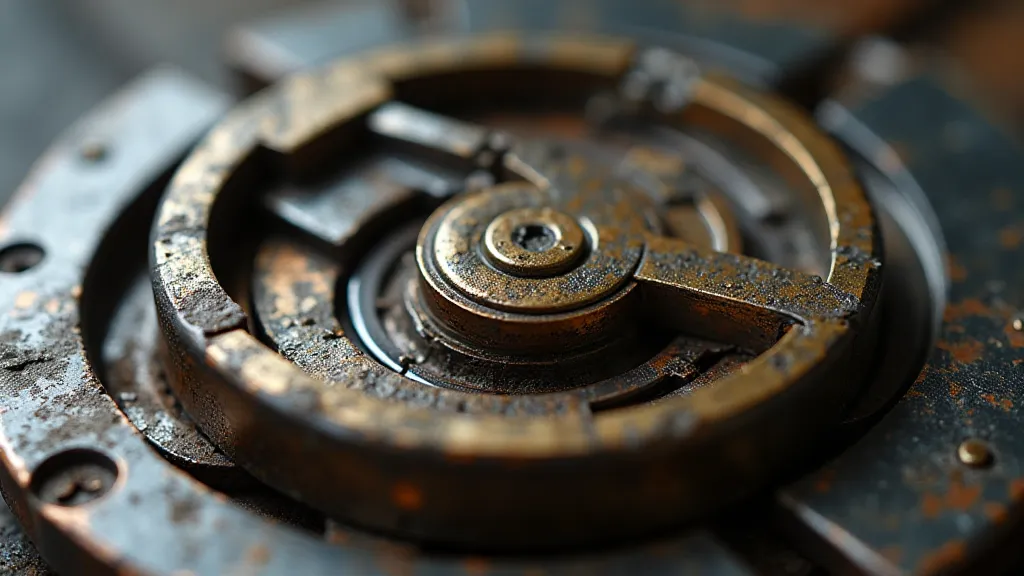
- Removing the Old Spring: Once the spring is fully released, carefully remove it from its housing. Note its orientation and how it’s attached to the arbor (the shaft it rotates around).
- Preparing the New Spring: Ensure the new spring is the correct size and type for your phonograph model. Carefully inspect it for any defects.
- Installing the New Spring: Carefully install the new spring, ensuring it is correctly oriented and seated in its housing.
- Winding the Spring: Using the winding key, slowly and steadily wind the new spring to its designated tension. Do not overwind it. The number of turns required will be specified in the repair manual or can be determined by observing the original spring.
- Reassembly: Carefully reassemble the phonograph's mechanism, reversing the disassembly steps. Refer to your pictures and repair manual.
- Testing: After reassembly, carefully test the phonograph to ensure the motor functions correctly and the turntable spins smoothly.
Common Pitfalls and Considerations
- Incorrect Spring Size: Using a spring that’s too large or too small can damage the mechanism.
- Overwinding: Overwinding a spring can damage it or the phonograph's components.
- Damage During Removal/Installation: Handle the springs carefully to avoid bending or breaking them.
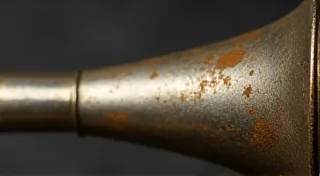
- Rust and Corrosion: Clean and lubricate any rusted or corroded parts before reassembly.
Replacing a mainspring is a challenging task, but with careful preparation, the right tools, and a methodical approach, you can successfully restore the power to your antique phonograph. Remember to always prioritize safety and seek professional help if you're unsure of any step.