Understanding Drive Belts: Types, Replacement and Adjustment
Antique phonographs often rely on drive belts to transfer power from the motor to the turntable or drive mechanism. These belts, seemingly simple components, are crucial for proper function and playback. Understanding their types, when they need replacing, and how to adjust them is a vital skill for any phonograph restorer.
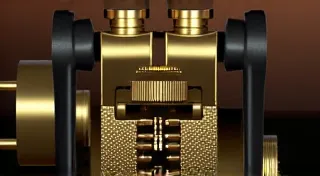
The Importance of Drive Belts
The drive belt is the unsung hero of many antique phonographs. It acts as a flexible connection, allowing the motor’s rotational force to be translated into the movement that spins the record. Over time, these belts degrade due to age, exposure to oils, and the constant stretching and compression they endure. This degradation manifests as slowed speeds, inconsistent playback, or a complete failure to spin.
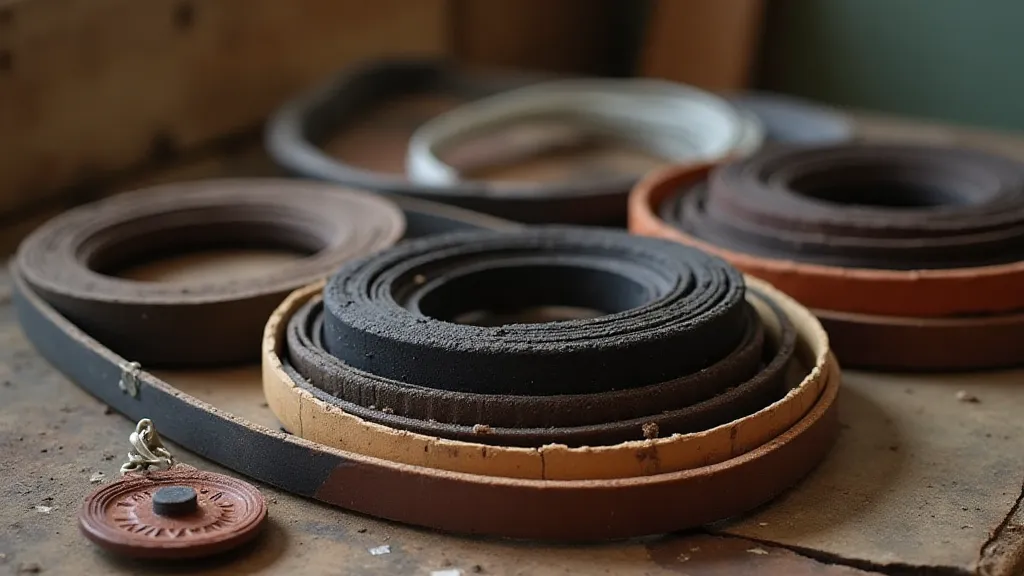
Types of Drive Belts
Not all antique phonographs use the same type of drive belt. Identifying the correct type for your specific model is the first step to successful repair. Here's a breakdown of the common varieties:
- Rubber Belts: These are the most common, especially in later models. They are typically black and can be either flat or slightly V-shaped.
- Leather Belts: Found in earlier phonographs, leather belts were the original standard. They’s often darker and more pliable than modern rubber belts.
- Fabric Belts: Less common than rubber or leather, these belts were used in some models, often offering a unique grip profile.
- Compound Belts: Some phonographs used belts made of multiple materials combined for specific characteristics.
Recognizing the Need for Replacement
Several signs indicate that a drive belt needs replacement:
- Slowed Speed: If the turntable spins noticeably slower than the specified RPM, the belt is likely stretched or degraded.
- Slippage: A slipping belt will cause a jerky or uneven spinning motion.
- Cracking or Brittleness: Visually inspect the belt. Cracks, brittleness, or a powdery residue are clear signs of age and degradation.
- Excessive Stretching: A stretched belt will no longer fit snugly around the pulleys.
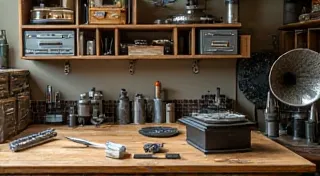
Replacing the Drive Belt – A Step-by-Step Guide
- Identify the Correct Replacement: This is crucial! Consult your phonograph’s service manual, online forums, or contact a specialist to ensure you order the correct size and type of belt.
- Disassembly: Carefully disassemble the phonograph to access the drive mechanism. Take pictures at each step to aid in reassembly.
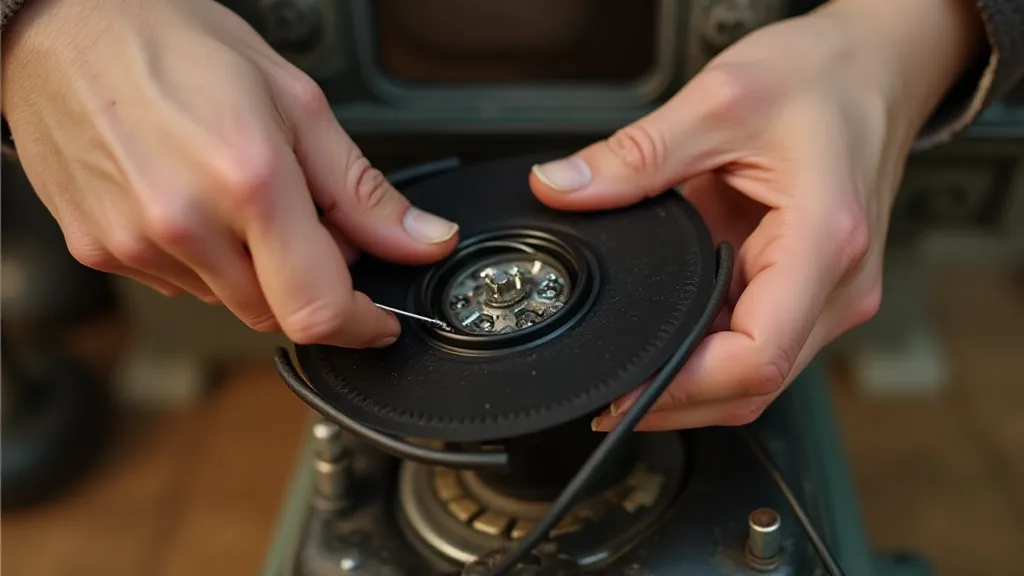
- Belt Removal: Gently remove the old belt from the motor pulley and turntable drive pulley. Be careful not to damage the pulleys.
- Installation: Starting at the motor pulley, carefully loop the new belt around the pulley. Then, carefully stretch the belt around the turntable drive pulley. It takes patience and a bit of finesse.
- Initial Adjustment: After installation, allow the belt to "break in" for a short period. Check the speed and make any minor adjustments as needed.
Adjustment and Troubleshooting
Even with a new belt, adjustments might be needed. Some phonographs have adjustable motor speed regulators. Others might require shimming or other mechanical adjustments to achieve the correct RPM. If the speed is still incorrect, check for any obstructions or friction in the drive system.
- Belt Tension: While a certain amount of stretch is normal, excessive slack indicates the belt may be too loose. Some phonographs allow for belt tension adjustment.
- Pulley Condition: Inspect the pulleys for damage or wear. A damaged pulley can cause slippage and reduce belt life.
- Motor Alignment: Ensure the motor is properly aligned with the drive pulleys. Misalignment can cause excessive belt wear.
Conclusion
Replacing a drive belt is often one of the most straightforward repairs on an antique phonograph. However, proper identification of the correct belt type, careful disassembly and reassembly, and minor adjustments are key to restoring the phonograph to its original sound and performance. With a little patience and attention to detail, you can breathe new life into these wonderful pieces of history.